01Start moving
Start Here
Set up the map, understand demand and build a first line that has a clear job.
Independent and source-checked
Practical Transport Fever 3 guidance for your first line, complex cargo transfers, growing cities and the systems that keep an empire moving.
Facts last checked October 5, 2026. Independent and unofficial.
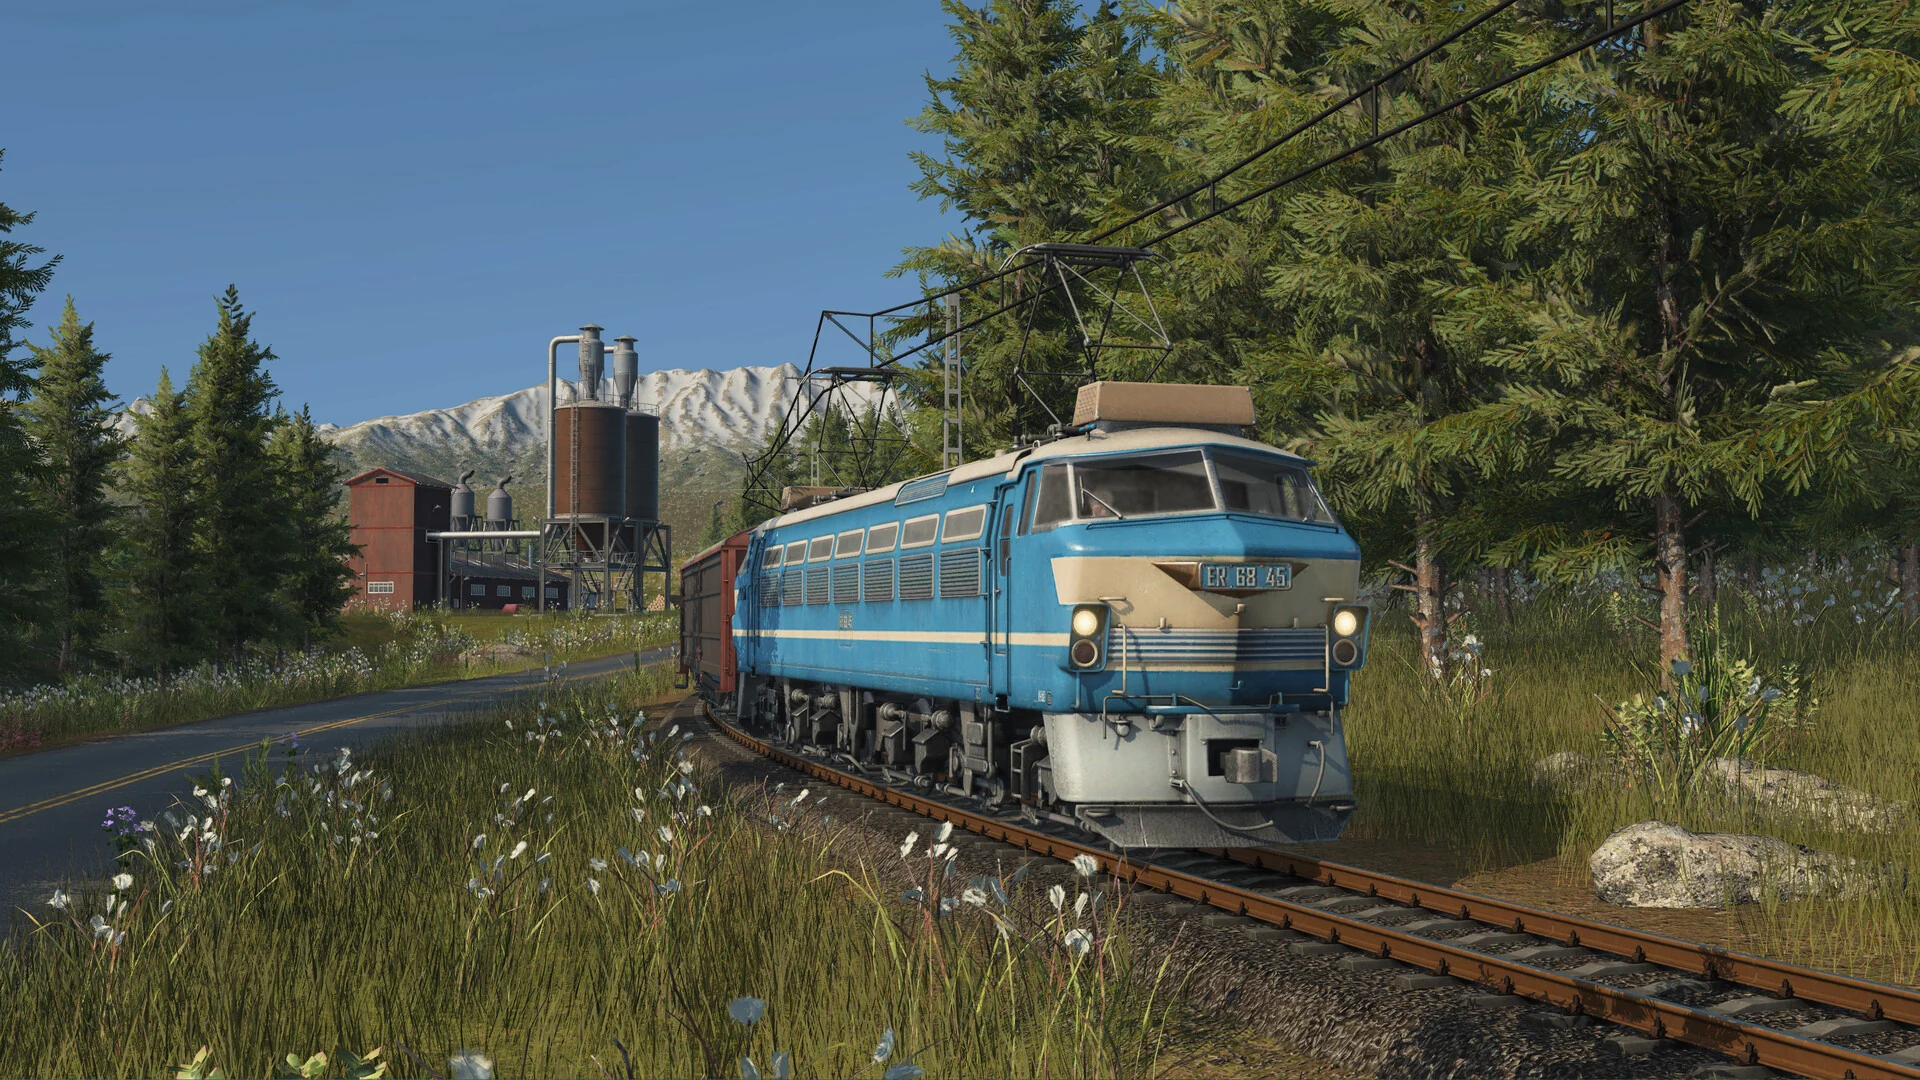
GUIDE MAP / 01
Each section starts with the mechanic behind the problem, then moves into checks you can repeat in your own save.
Set up the map, understand demand and build a first line that has a clear job.
Trace production chains, diagnose transfers and learn why cargo waits at the origin.
Plan station approaches, control junctions and stop traffic queues spreading across the network.
Use the official mod.io route, check requirements and work through verified fixes.
FIELD NOTES / 02
Three recurring decisions shape most successful routes: the job, the transfer and the bottleneck.
Start with station access, line purpose and usable capacity before adding more vehicles.

Capacity and operating cost matter as much as speed when the route still has weak demand.
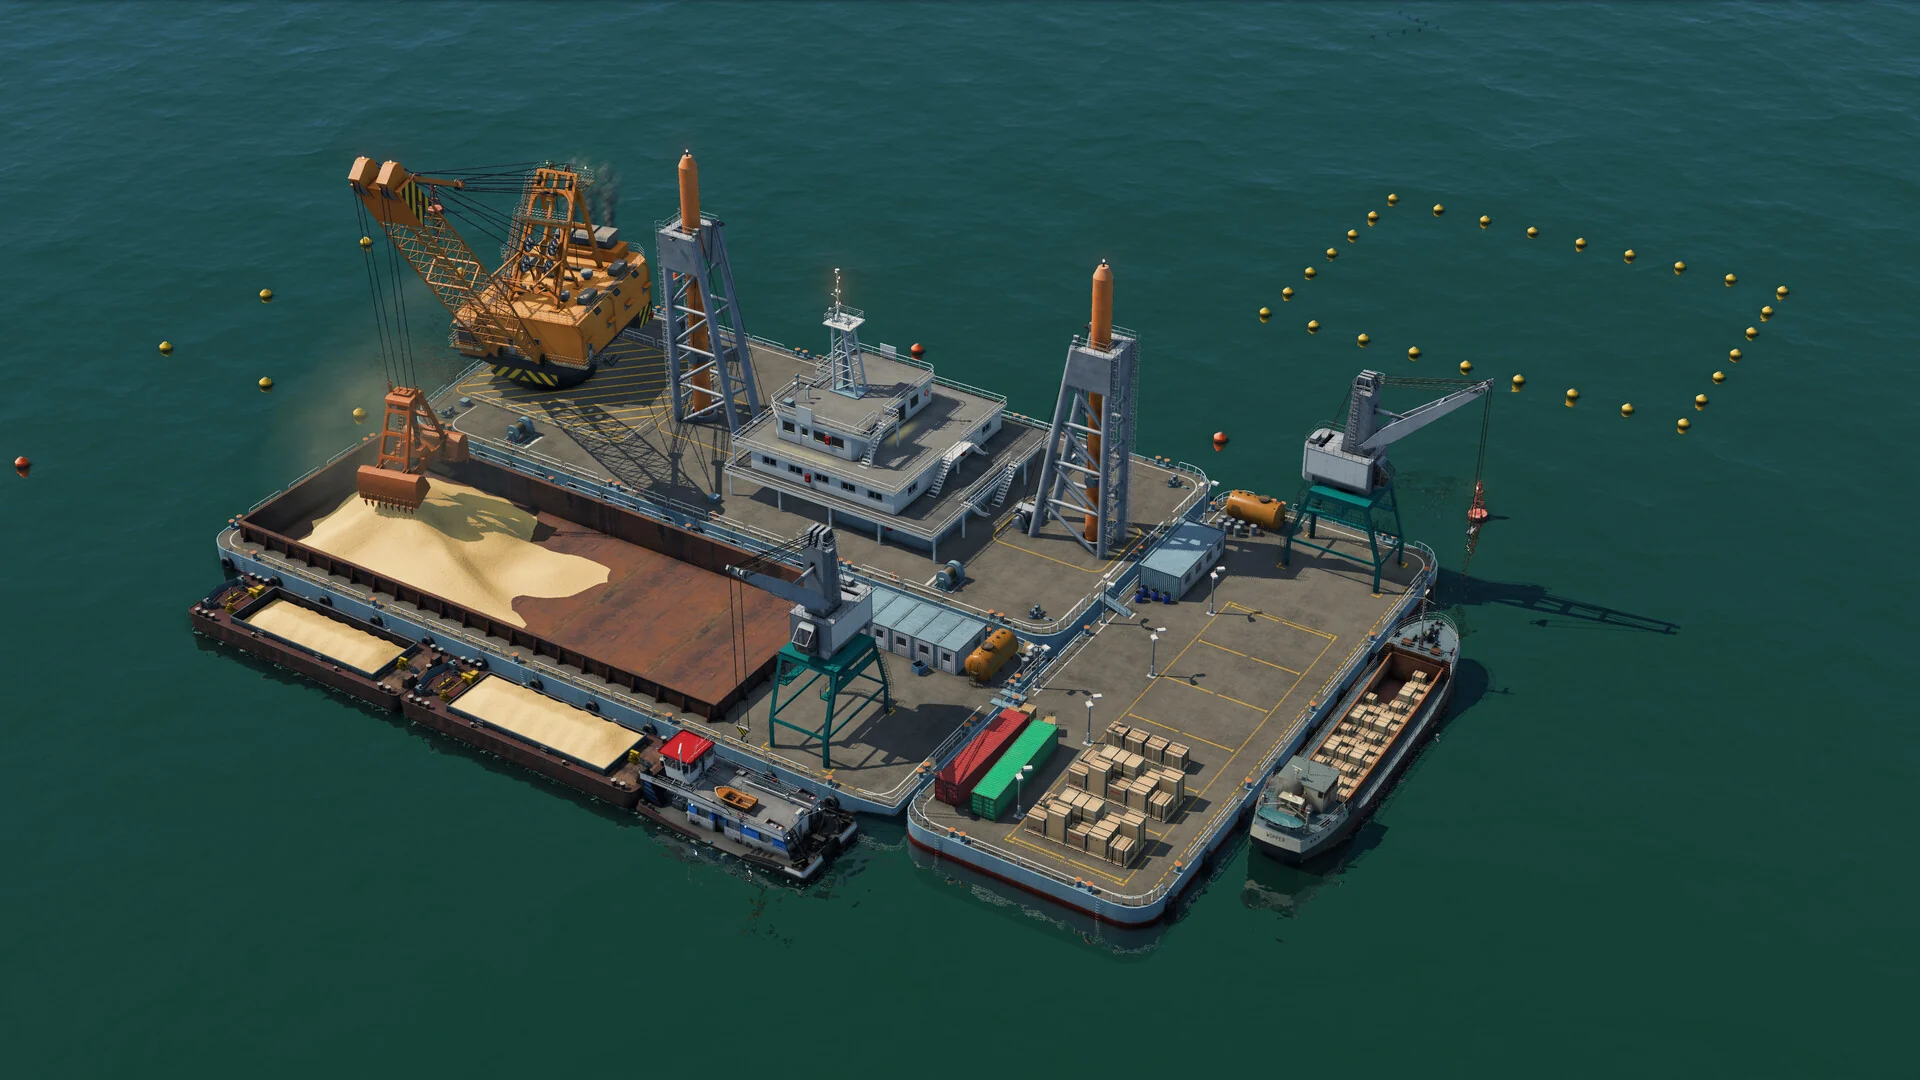
Check origin, accepted cargo, terminal access and the next connection before buying more vehicles.
OFFICIAL VIDEO / 03
A verified official overview of the new tycoon systems, industries, traffic and rail tools.
SOURCE POLICY / 04
Official documentation defines the facts. Community guides help identify confusing tasks, but unverified numbers and universal “best” claims stay out.
How verification works