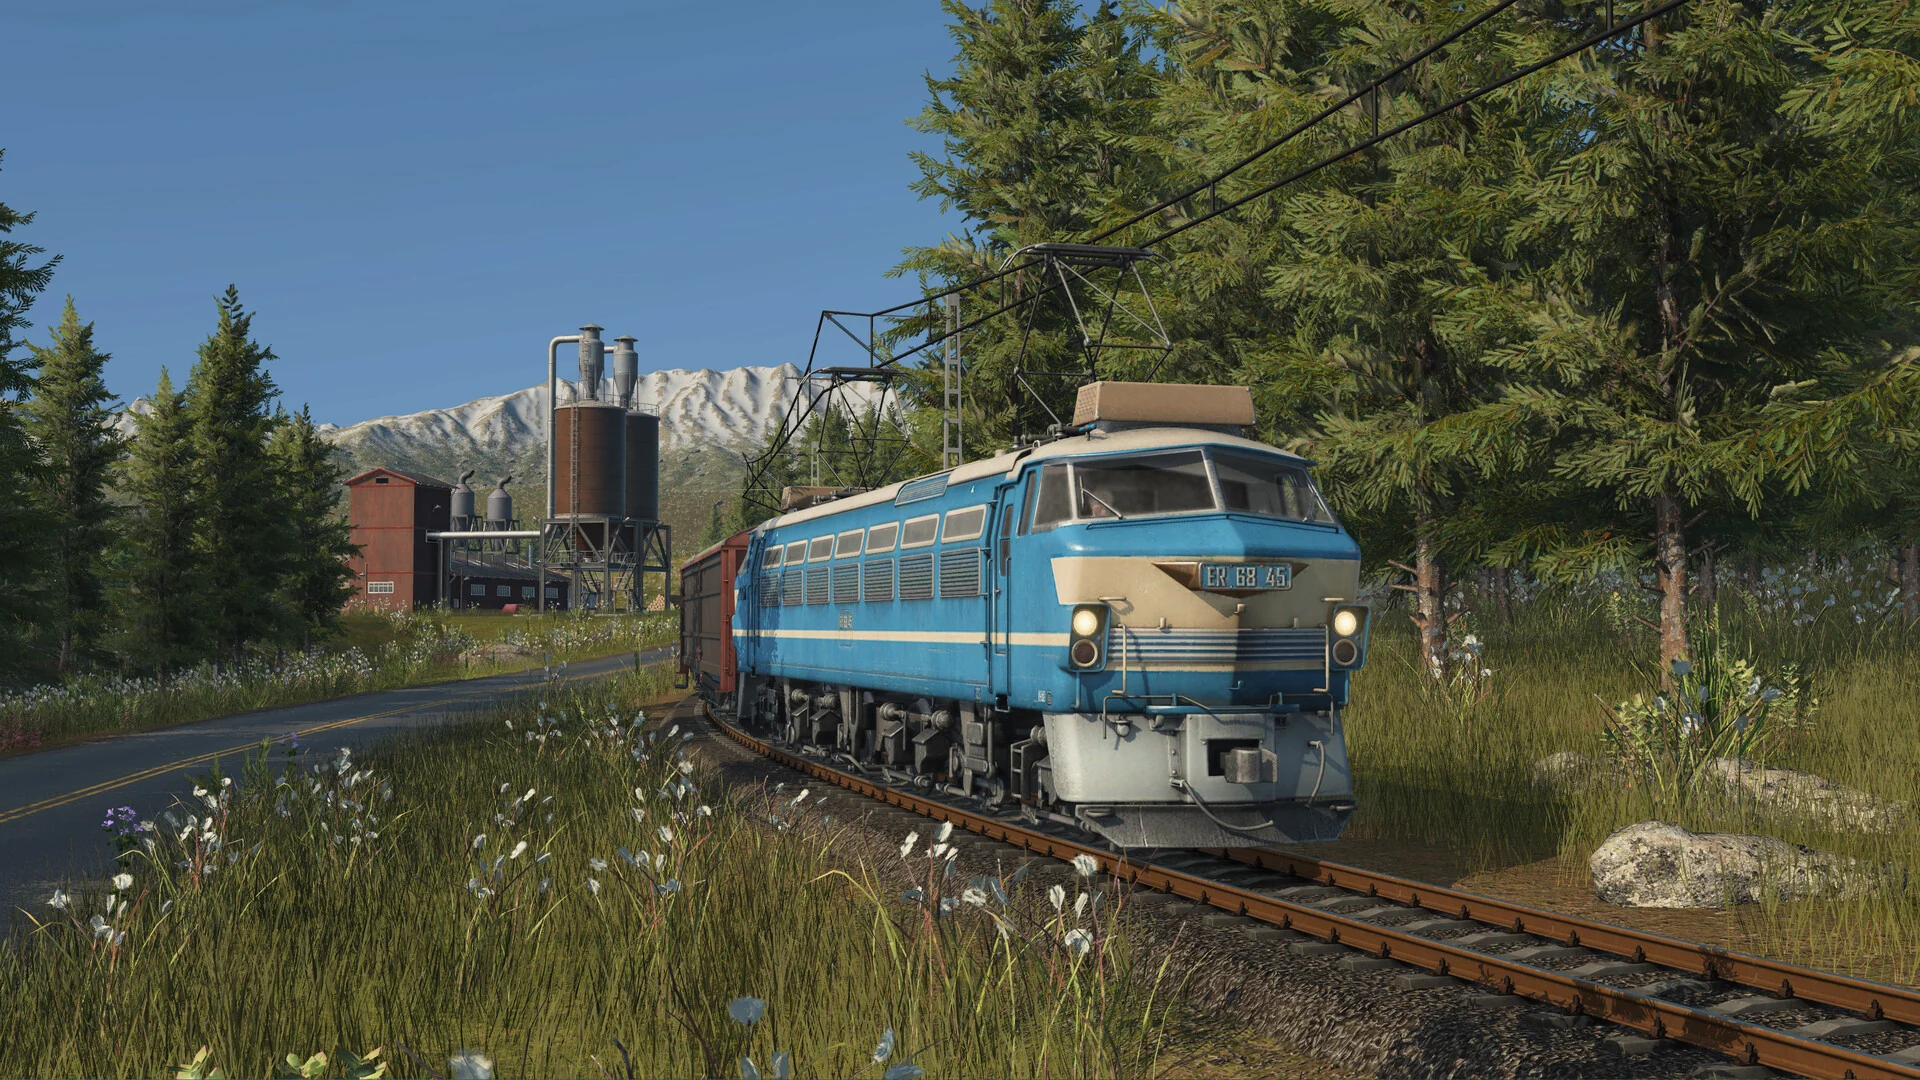
What you actually do
Transport Fever 3 is a network-management game. You connect places that produce people or cargo with places that want them, then keep that connection reliable enough to justify its cost. A working route is not simply a road or a piece of track: it includes accessible stops, a line with the correct stop order, suitable vehicles and a real source and destination.
The core loop is straightforward:
- Find a demand you can satisfy.
- Build the smallest complete connection.
- Assign compatible vehicles.
- Watch what actually moves.
- Remove the bottleneck before expanding.
The difficulty comes from interactions between those steps. A train can be fast and still lose money because the station is outside the catchment area. A factory can have full input stock and still fail to ship because the next terminal does not accept its output. A busy road can look successful while delaying every profitable service that uses it.
Passengers and cargo behave differently
Residents are simulated individually. Each has a home, a workplace and a shopping destination. They compare public transport with private travel, so a passenger line has to be useful as a complete journey rather than merely touching two towns.
Cargo has no fixed personal destination. Its flow is created by the lines and loading rules you provide. That means a cargo problem should be diagnosed from the producer forward: output stock, station coverage, accepted cargo, vehicle capability, transfer point and final consumer.
Practical rule: passenger networks compete for trips; cargo networks create a controlled path through a production chain.
The four network layers
Demand
Start with the town building or industry that wants something. Check the requested cargo, passenger destinations or production input before buying infrastructure.
Access
Stops and stations must reach the relevant buildings or industries. A beautiful terminal outside the effective catchment area is not part of the chain.
Movement
Lines define where vehicles go. Vehicles must support the track, road, water or air infrastructure and the cargo specialization required by the route.
Capacity
Capacity includes more than seats or cargo slots. Platform access, junction conflicts, road queues, loading time and vehicle frequency can all become the real limit.
Modes and the right starting point
Use the campaign when you want guided objectives and a structured introduction. Use Tycoon mode when the economy, contracts and financial tradeoffs are the point. Use Sandbox when you want to design networks or scenery without financial pressure. The map editor is a separate creation tool for shaping maps rather than operating a company.
New players should resist starting with a huge rail system. A short, observable route gives faster feedback: you can see whether demand exists, whether cargo appears and whether revenue covers recurring costs.
A reliable first-hour plan
- Pause and inspect the map before building.
- Pick one simple passenger pair or one short cargo chain.
- Build the complete route with the fewest necessary structures.
- Run a small number of vehicles and watch at least several full cycles.
- Open line and station information instead of judging only by animation.
- Expand only after the first route has a clear purpose and stable demand.
Signs that your network is healthy
A healthy network is understandable. You can name the job of every line, identify its source and destination, explain why each transfer exists and see where spare capacity remains. When a route fails, change one variable at a time. Adding vehicles, rebuilding stations and changing loading rules simultaneously makes the real cause harder to find.